Day 5 : How to Calculate Plane area in AR using Unity and AR Foundation
In this tutorial we will learn to calculate the area of the detected planes and display it, this can be used for almost ALL of AR applications that you will ever make.
This is part of a 30 day sprint where we try to publish 30 projects in 30 days, this means building full projects from scratch. Double checking the code, writing the tutorial and then posting it . If there are any typos do let us know and I hope you enjoy this tutorial and project.
Introduction
In a previous tutorial here, we built an AR app with plane tracking features using unity. The application detected both vertical and horizontal planes. Today, we’ll learn to calculate the area of the detected planes and display it. We’ll use the same project from before and expand on it.
We will be showing the area of the plane on top of it as a 3D floating text. However, we don’t want our view to be filled with numbers of all the planes as that wouldn’t look clean. So then, we will implement a tap feature, where tapping on the plane will toggle the floating text to on/off. To tap and select a detected plane we will use raycasting, and then do the needful to calculate and show its area in square meters.
This is what the end result is going to look like.
Getting Started
Pre-requisites
- Unity 2019.2.18f1
- ARFoundation 2.0.2
- Android or iOS device
- Some basic C# Programming skills and understanding
I’m using an iPhone and will be running unity on a Mac, but since we’re using ARFoundation it will also work on Android as well. Also, I have written a post on how to do just that, you can follow that here.

Download Source Code
Raycasting
Raycasting is a process of shooting a Ray which is an invisible line (it can be made to be visible too) from a point in space into a specific direction. This Ray when it hits something, for example, an object that is in its path, can then gather information about that object.
Raycasting is used everywhere in games, for shooting a bullet in an FPS, TPS or even adventure game. As an example, they are also used for UI interactions within unity using a graphics raycaster which works against a UI Canvas. There is also the Physics Ray caster that works against all 3D and 2D objects that have a rigid body or a collider component on them. The rigid body and collider components are used to achieve physics interactions inside Unity. You can read more about raycasting and it’s implementation here.
AR Foundation in itself also provides a raycaster called AR Raycast Manager which can be used to raycast against the trackable AR objects in the scene like cloud points and planes. This is done so that the implementation of physics in the game or an app can be separated from the AR tracking’s implementation. But in our case, we need to fetch the detected AR Plane’s gameobject and its components which the AR Raycast Manager doesn’t yet provide.
Now that we have an understanding of Raycasts, we can dive right into making our App!
Planned System
Our setup will be as follows.
There will be a global PlaneAreaManager class which will perform touch identification and raycasting to detect the planes. The planes will have a PlaneAreaBehaviour class attached to them where the area calculation will be performed. Once our PlaneAreaManager object detects a plane, it will fetch the PlaneAreaBehaviour object’s reference and set the 3D text on or off to display the area. Simple isn’t it?
Implementation
Prefabs
First, Let’s modify our AR Plane prefab to perform area calculation and display.
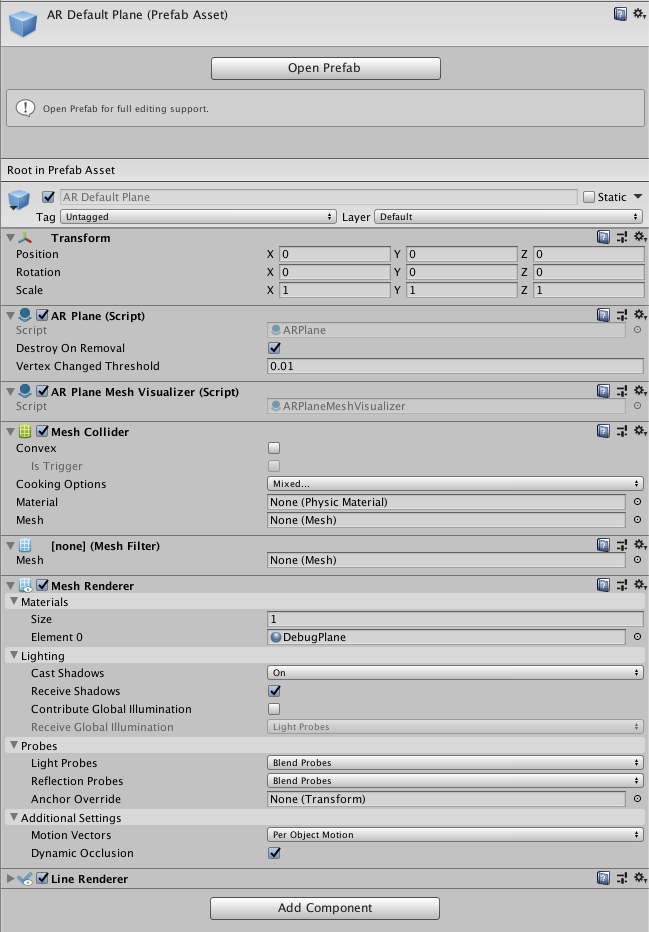
Select the AR Default Plane prefab from the Prefabs folder and click on Open Prefab in the Inspector window.
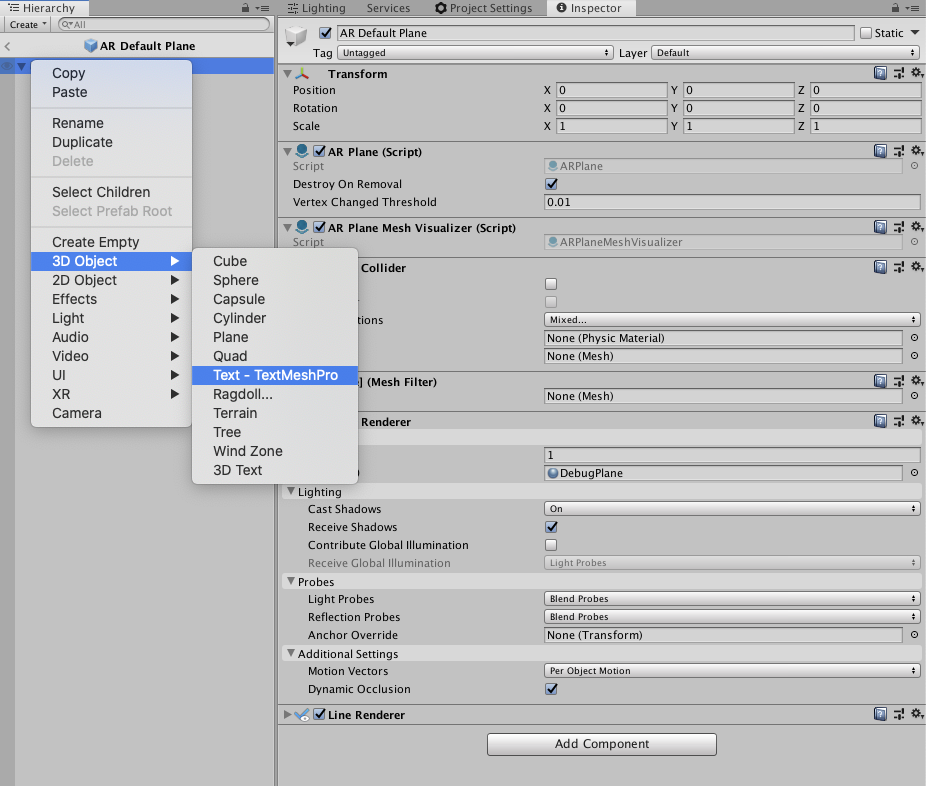
Right click on the AR Default Plane in the Hierarchy -> 3D Object -> Text – TextMeshPro which will create a child Text object.
TextMeshPro
TextMeshPro is a different text rendering engine that uses SDF compared to traditional unity text. We’ll use TextMeshPro’s 3D text component to display the area as a floating text on top of our detected plane.
However, TextMeshPro although integrated with unity, once you create the above Text object, Unity will prompt you to Import TextMeshPro related essential assets. Click on Import TMP Essentials. It should take a couple of seconds for Unity to import all the dependencies.
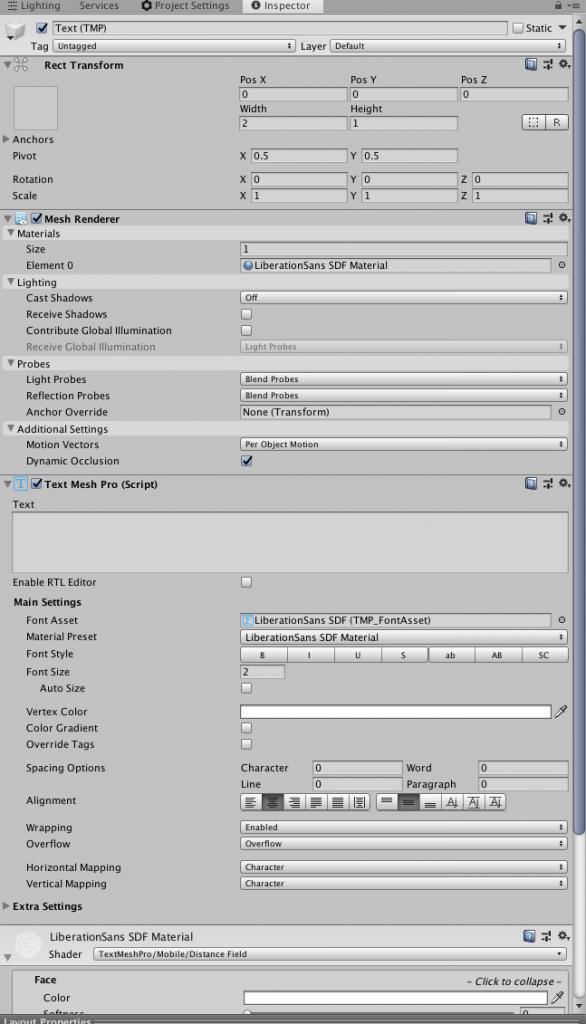
Set the Text (TMP) object width and height to 2 and 1. It’s font size under Text Mesh Pro component to 2. See below for the config.
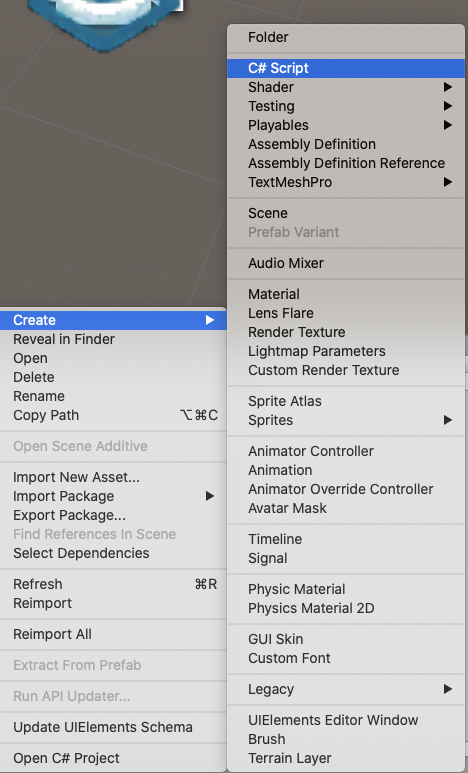
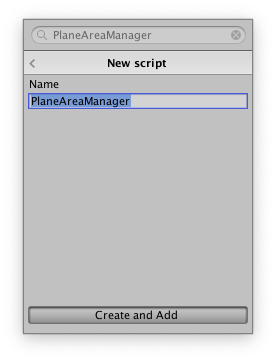
Let’s create a script -> Add Component -> type in “PlaneAreaBehaviour” -> New script -> Create and Add.
Unity will now create the script with the given name, it should take a second or two. The script will be created under the Assets folder at the root of our project. To better structure our project we store all our scripts under a new “Scripts” folder. Hence, create a new folder “Scripts” and then move the PlaneAreaBehaviour.cs file into it. Make sure to do this for all future scripts.
Next, to make it, even more, easier you can also right-click inside the Scripts folder and create a new script from there itself and add it to the required gameobject through the Add Component menu in the Hierarchy Window.
Open up the script by double-clicking on it in the Inspector. Unity will open it with Visual Studio.
PlaneAreaBehaviour
First, we’ll need two public fields to store the reference for our TextMeshPro and ARPlane components.
public TextMeshPro areaText;
public ARPlane arPlane;
Since, the detected planes are dynamic, meaning they can grow and shrink in size we want to be able to update the area whenever the plane’s boundary changes. To do that we’ll use the ARPlane.boundaryChanged event and subscribe to it. The event will be raised whenever the Plane’s boundary changes and we update our area accordingly in the callback.
private void ArPlane_BoundaryChanged(ARPlaneBoundaryChangedEventArgs obj)
{
     areaText.text = CalculatePlaneArea(arPlane).ToString();
}
private float CalculatePlaneArea(ARPlane plane)
{
     return plane.size.x * plane.size.y;
}
In the callback, we’ll calculate the new area and update it on the areaText component.
The CalculatePlaneArea method takes ARPlane as a parameter and returns the area by multiplying the plane.size.x which is the plane length in meters and plane.size.y which is the width of the plane in meters.
Note here that, sometimes the detected plane might not be a perfect rectangle and can be any polygon, otherwise, in such cases, the area will reflect a rectangle the polygon will occupy. If I get many requests for a precise polygon area, I’ll update this article with that.
public void ToggleAreaView()
{
     if(areaText.enabled)
          areaText.enabled = false;
     else
          areaText.enabled = true;
}
Next, ToggleAreaView will basically enable and disable our areaText component based on its current state, and this method will be called by our PlaneAreaManager class which we will create next.
Lastly, for our Text, we want it to always face the users’ camera.
private void Update()
{
     areaText.transform.rotation =
        Quaternion.LookRotation(areaText.transform.position -
           Camera.main.transform.position);
}
Furthermore, In the Update method, we’ll set the areaText gameobject transform to always look at the MainCamera.
This is our final script. Save the script and go back to Unity. Unity will now compile the script, it might take a few seconds.
PlaneAreaManager
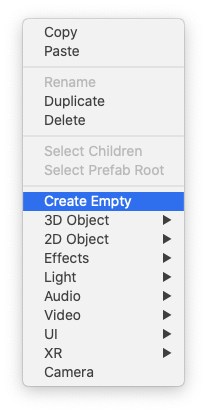
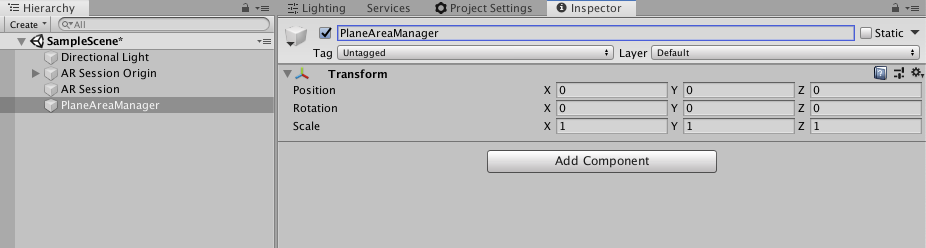
Next, let’s add our PlaneAreaManager class. Right-click in the inspector and -> Create Empty. Rename the gameobject to “PlaneAreaManager”
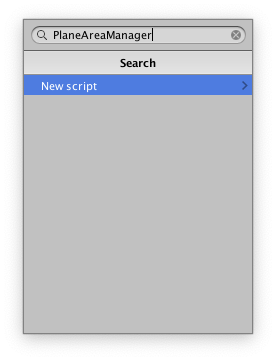
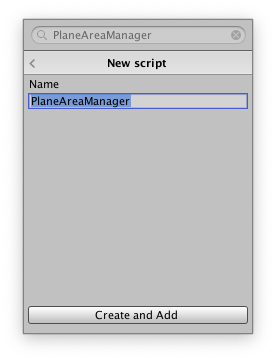
Click on Add Component under its Inspector Window -> type “PlaneAreaManager” -> New Script -> Create and Add
Open the script by double-clicking on it in the Inspector.
Touch Input
First, we want to detect the users’ touch or tap on the screen. Let’s use Unity’s Input class for this. We’ll check for touch every frame and hence we write it under the Update() method.
if (Input.touchCount > 0)
{
     var touch = Input.GetTouch(0);
     if (touch.phase == TouchPhase.Ended)
     {
          if (Input.touchCount == 1)
          {}
     }
}
We see if the touchCount which is the number of touches is more than 1. If it is then we get the first touch with the index 0 and check for the touchPhase has ended meaning the user has lifted his finger off the display. However, we want to see there is only one touch active at the moment.
Once we have that, we can now Raycast. Let’s create our Ray.
Ray raycast = Camera.main.ScreenPointToRay(touch.position);Ray will be created with origin from the screen point – touch.position into a Ray which starts at the touch.position and is directed perpendicularly into our scene in world space.
Now we cast the ray
if (Physics.Raycast(raycast, out RaycastHit raycastHit)) { }If the ray hits anything Physics.Raycast will return true. Inside this, we can check for our plane.
var planeAreaBehaviour =
   raycastHit.collider.gameObject.GetComponent<PlaneAreaBehaviour>();
if (planeAreaBehaviour != null)
{
     planeAreaBehaviour.ToggleAreaView();
}
Next, once we’ve hit a collider since our Plane prefab has a mesh collider, we can fetch a reference to the PlaneAreaBehaviour which is attached to the plane. Therefore, if the reference isn’t null, then we call the ToggleAreaView method of our PlaneAreaBehaviour object which then turns on and off the 3D Text.
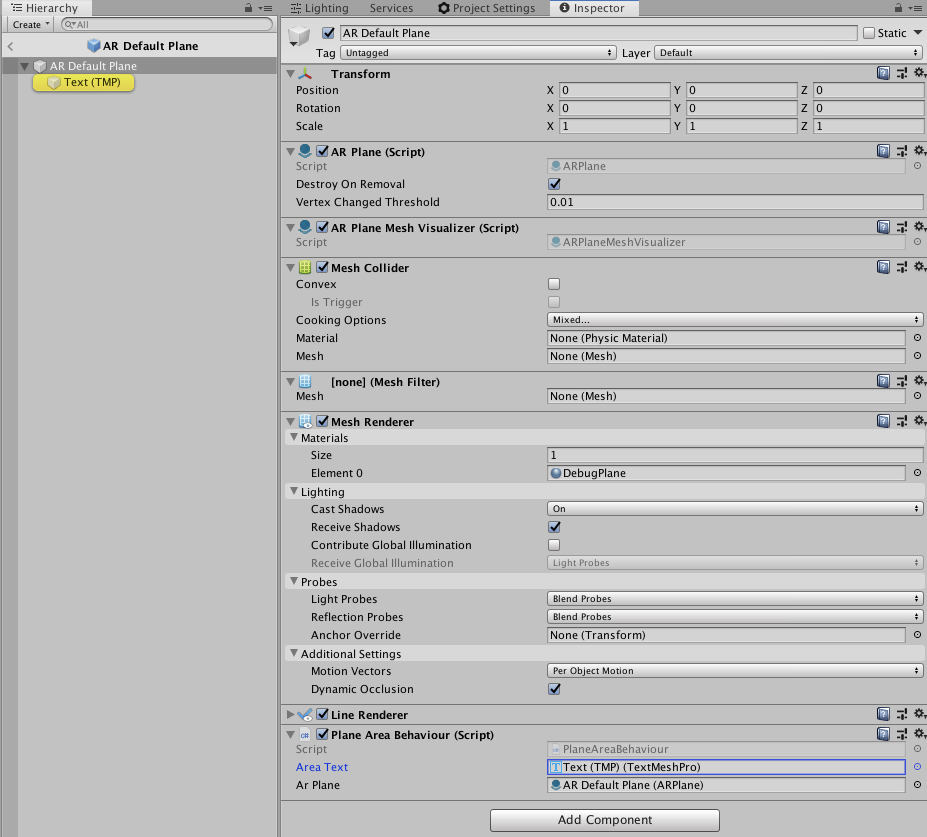
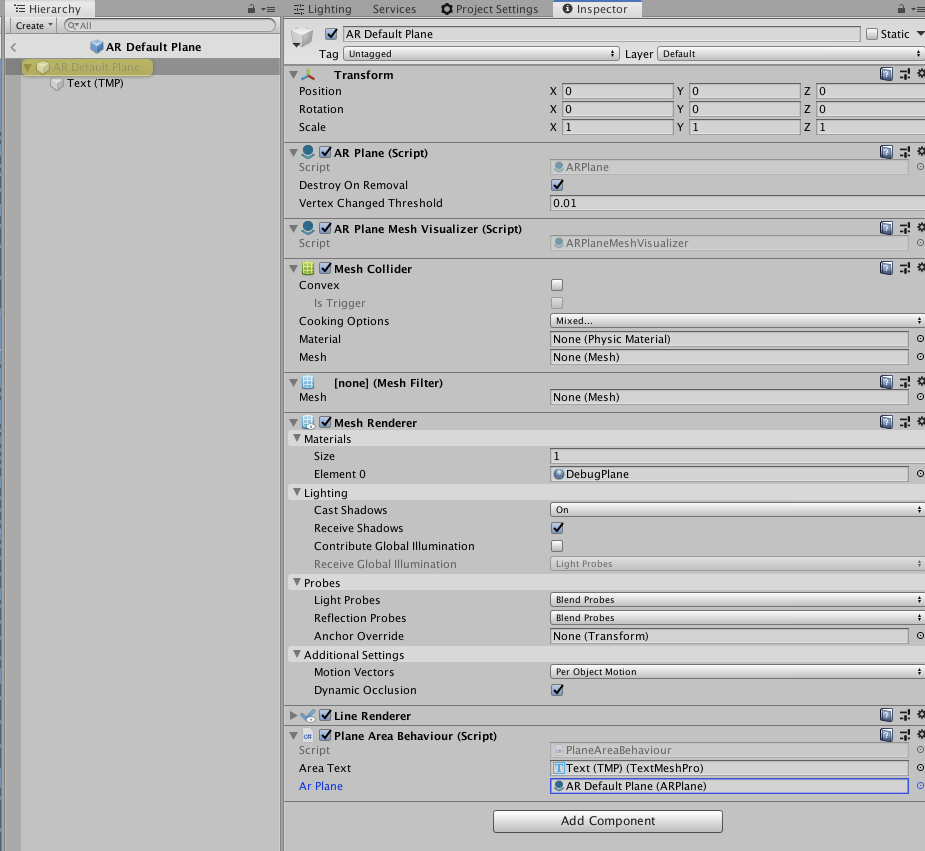
Now, save the file and go back to unity. Unity compiles the script you should see the public fields we declared in the Inspector. Finally, assign the references, the Text (TMP) to our area Area Text field and the AR Plane component to our Ar Plane field
That’s it!
Furthermore, now you can build and run the project on your target device and check it out for yourself!
How do you navigate between tutorials? There is no menu nor are there any links to the previous or next lesson.
Good
Hi, your tutorials are extremely useful. Thanks for posting them! Is there a tutorial for the polygon plane area calculation? Thanks.