Day 8: How to use occlusion to hide objects using AR Foundation in Unity.
In this tutorial we will learn how to use occlusion to hide objects behind real world objects and walls so that we can create a more realistic experience in AR. We will be using AR foundation in Unity to achieve this.
This is part of a 30 day sprint where we try to publish 30 projects in 30 days, this means building full projects from scratch. Double checking the code, writing the tutorial and then posting it . If there are any typos do let us know and I hope you enjoy this tutorial and project.
Introduction
In the previous articles, we learned about AR Foundation and the principles of AR. We also learned and built trackables like Plane detection and placed objects on the detected planes.
From that article, if you noticed, the cubes that we placed on the planes looked and felt real when in an open space. But soon the realism fell apart when there were many objects and geometry in the environment.
What can we do to make it more realistic so that our virtual objects blend in with the real world?
Occlusion
Occlusion is a process of hiding one object behind another. For example, in the virtual world, a wall hides whatever is behind it. From the camera’s perspective, calculations are performed pixel by pixel and examined in the entire scene. And those objects that don’t need to be drawn or rendered onto the view are excluded or culled. You can read more about different types of occlusion techniques employed in unity here.
How do we apply this in AR?
We use Shaders, shaders are scripts that perform mathematical calculations and hold the algorithms for every pixel to be rendered onto the view. They are dependent on the material and lighting properties of an object it is applied to.
We will create and apply a shader to our Plane object. In this shader, we will write to a Z-Buffer which stores the z position of each pixel which then decides how the rendering will happen based on the value of that pixel.
When we apply this shader onto our plane. Any object which is behind will have a lower Z-Buffer value and hence will not be rendered. Thus hiding our virtual objects behind the detected plane. For example, a table or a wall.
We will build an application to demonstrate this in this article.
This is what the end result will look like.
Before occlusion (left), After occlusion (above)
Getting Started
Prerequisites
- Unity 2019.2.18f1.
- Basic understanding of programming.
- Earlier article about setting up AR Foundation and plane tracking from here.

Download Source Code
Creating the Shader
This is work on both Android and iOS as the shader is platform-independent.
Once you have followed the previous article, Let’s start off by creating a shader script.
In the project window create a new folder called “Shaders” and inside it right-click -> Create -> Shader -> Standard Surface shader. We will edit and modify for our purpose.
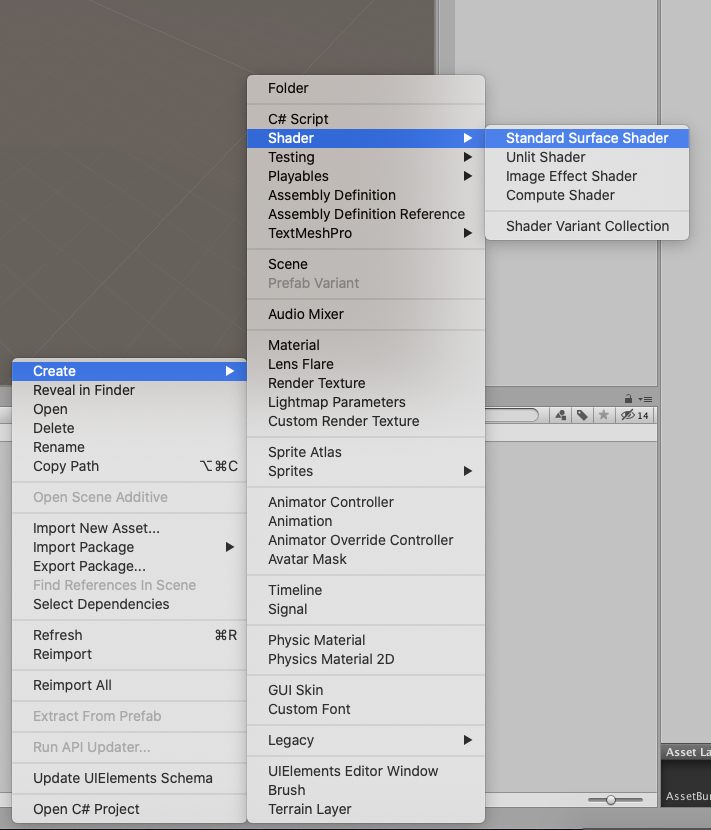
Rename it to “PlaneOcclusionShader”.
Double click the shader and it will open up in Visual Studio. Delete everything in the script and replace it with the following script
Shader "Custom/PlaneOcclusionShader"
{
    SubShader
    {
        Tags { "RenderType"="Opaque" }
        Tags { "Queue" = "Geometry-1" }
        ZWrite On
        ZTest LEqual
        ColorMask 0

        Pass
        {
            CGPROGRAM
            #pragma vertex vert
            #pragma fragment frag

            #include "UnityCG.cginc"

            struct appdata
            {
                float4 vertex : POSITION;
            };

            struct v2f
            {
                float4 vertex : SV_POSITION;
            };

            v2f vert (appdata v)
            {
                v2f o;
                o.vertex = UnityObjectToClipPos(v.vertex);
                return o;
            }

            fixed4 frag (v2f i) : SV_Target
            {
                return fixed4(0.0, 0.0, 0.0, 0.0);
            }
            ENDCG
        }
    }
}
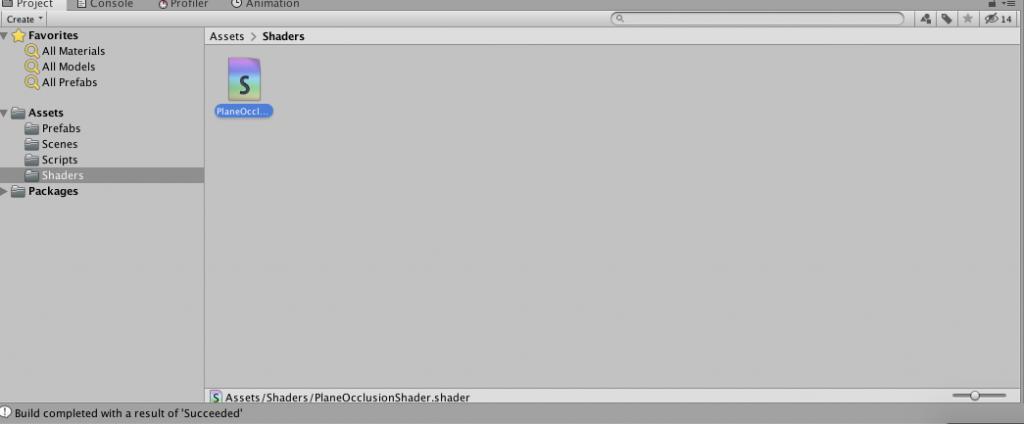
Save it and go back to unity. Our shader is now ready.
Creating the Material
We will now create a new Material and assign it this shader. Then, the material will be assigned to our Plane prefab.
Create a folder called Materials in the project view and inside it, right-click -> Create -> Material.
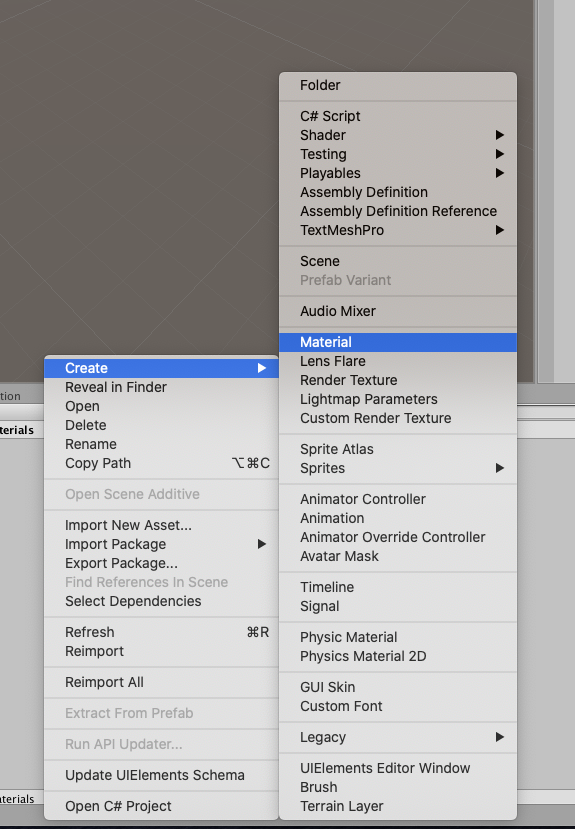
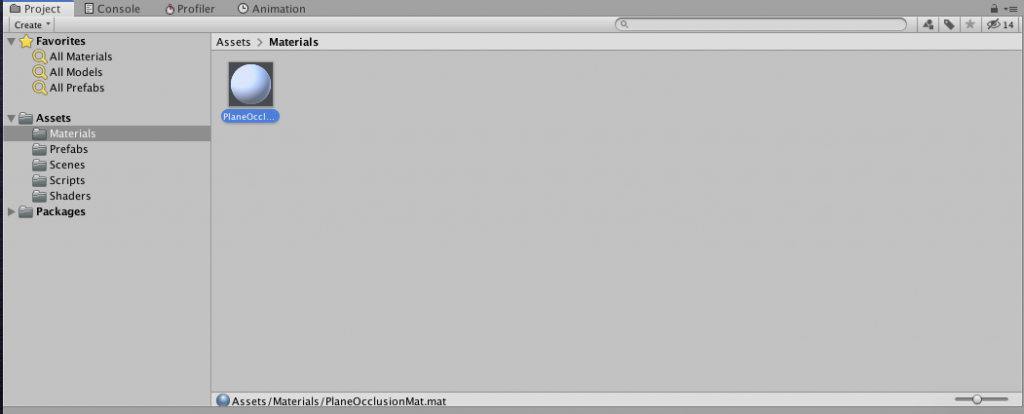
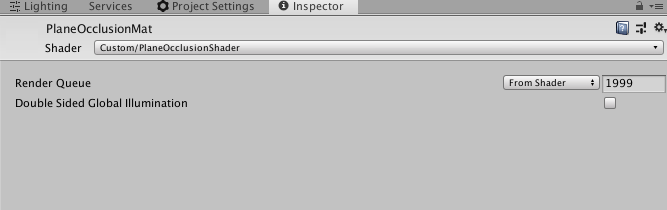
Rename it to PlaneOcclusionMat
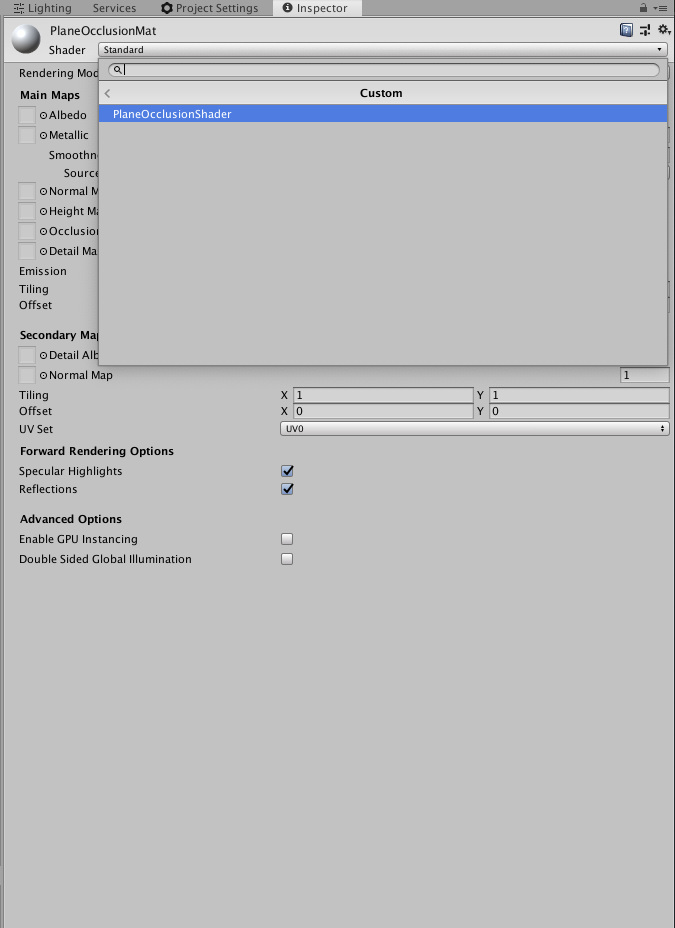
Select the material and in the Inspector window, find the shader dropdown and choose -> Custom -> PlaneOcclusionShader,
Now go to the plane prefab in the Prefabs folder and in its Inspector window, under its Mesh Renderer component set the material size property to 2.
Assign the PlaneOcclusionMat material to the element 1 field of the Materials property.
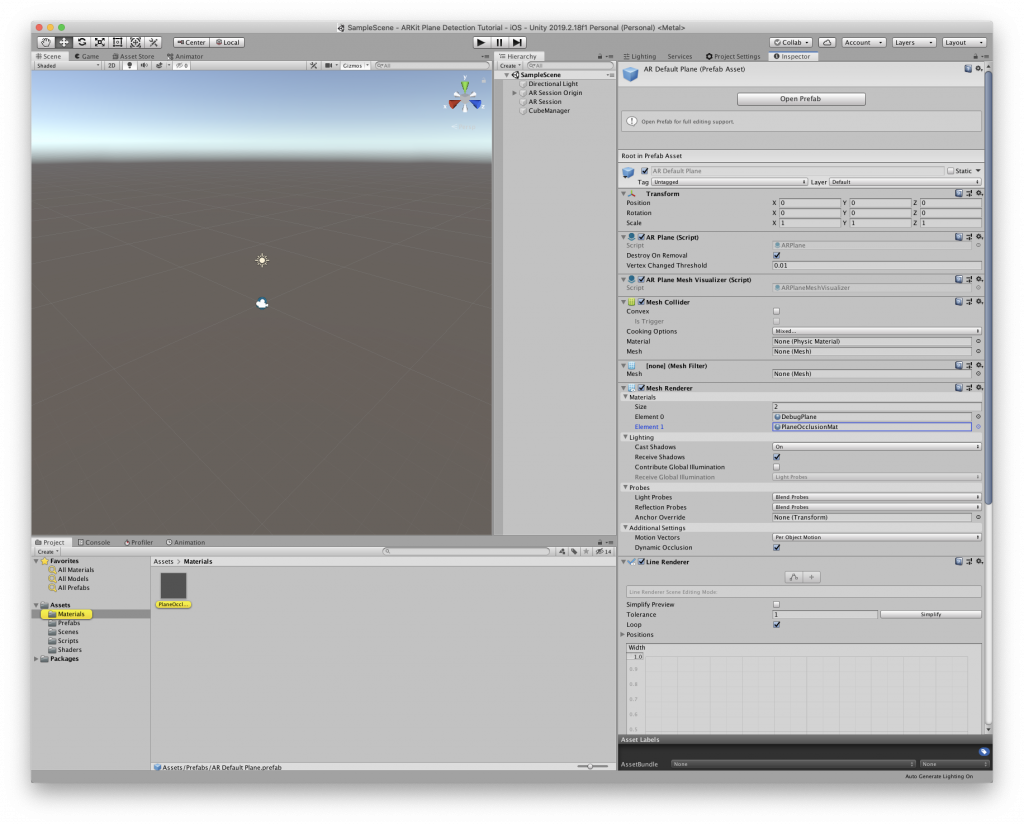
That’s it. The plane now has the occlusion property and will hide any virtual object that is behind it.
The planes will be default be visible due to the first material – element 0 has the debug plane material assigned to it. If you don’t want the planes to be visible, simply delete the first element 0.
Now you can build the app onto your device and test away.
Please leaves any feedback or queries in the comments section below!
Leave a Reply