Day 21: WebAR using ArKit and Safari Part 2
Introduction
In the previous article here, we learned how WebAR works with ARkit and converting our source models into .USDZ files that are needed for WebAR.
In this article, we’ll create a basic website to showcase the 3D model and also host our 3D Model.
This is what the end result will look like.
We will use Github to create and push a repository and publish the website using Github Pages. We can then open up the website using the link and explore our 3D Model in AR.
Getting Started
Let’s first understand how this is going to work. Basically, to render any content in AR, we create <a> href attribute which will link to our .USDZ file.
Additionally, we’ll also add a “rel” attribute with the value “ar” to this element.
When we open the website in Safari, iOS will see this .USDZ file along with the relation attribute and will use ARKit to open such links. If it’s opened with any other browser, clicking on it will simply download the .usdz file.

Download Source Code
Prerequisites
- Visual Studio Code from here
- Source Code
- Basic HTML understanding is preferred (Not to worry, if not known)
Implementation
Once you’ve downloaded the source code, there’ll be a lot of files. Nothing to worry about. I’ll guide you through everything.
It actually is a basic template for a website.
In the source, you’ll find a file called Index.html. Open it up Visual Studio Code.
What is index.html?
The index.html page is the most common name used for the default page shown on a website if no other page is specified when a visitor requests the site. In other words, index.html is the name used for the homepage of the website.
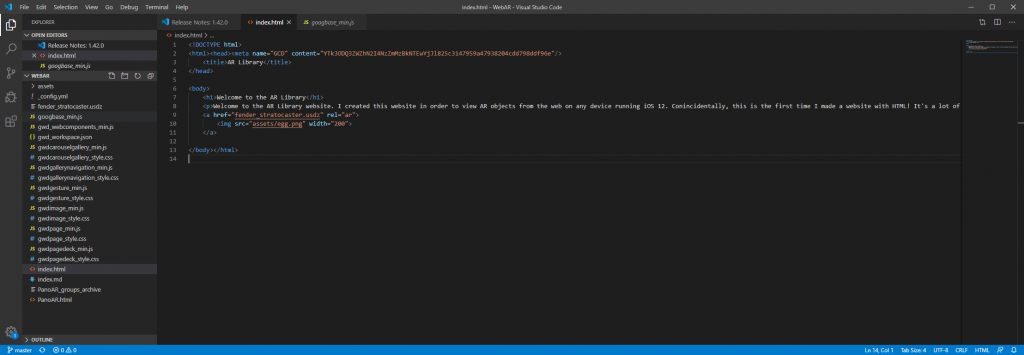
This is the whole script.
<!DOCTYPE html>
<html><head><meta name="GCD" content="YTk3ODQ3ZWZhN2I4NzZmMzBkNTEwYjJl825c3147959a47938204cdd798ddf96e"/>
	<title>AR Library</title>
</head>

<body>
	<h1>Welcome to the AR Library</h1>
	<p>Welcome to the AR Library website. I created this website in order to view AR objects from the web on any device running iOS 12. Conincidentally, this is the first time I made a website with HTML! It's a lot of fun!</p>
	<a href="fender_stratocaster.usdz" rel="ar">
		<img src="assets/egg.png" width="200">
	</a>

</body></html>
Notice, in the <body> tag we have created some headings and a paragraph to show some info.
Under that, we have the –
	<a href="fender_stratocaster.usdz" rel="ar">
		<img src="assets/egg.png" width="200">
	</a>
This is where we specify what model to show, and what should be its thumbnail. I’m using a guitar .usdz file with the name fender_stratocaster.usdz.
Where is this file? You might ask
You should place any .USDZ file at the root of the project folder and give its name here instead.
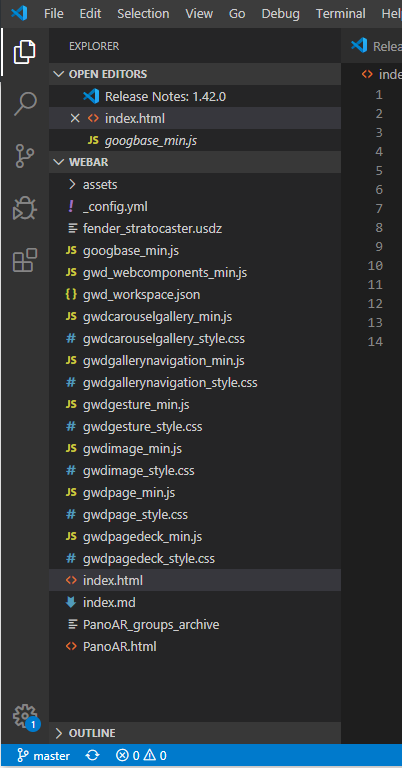
If you notice on the left panel, in Visual Studio Code. I have fender_staratocaster.usdz placed there.
When you add the filename in the “href” tag it will fetch the file from here.
You can also add the link to your file from a storage service such as Azure, Google or any other if you’re using those services for your website.
GitHub and Publishing
Now, if you already have a website then all you need to do is save the changes and publish it.
If you’re starting from scratch to test out this feature then you can use Github to host the website.
What is Github?
Git is the version control tech of choice for basically everybody right now, from developers to designers. GitHub is the social code-hosting platform that’s currently used more than any other. It’s a place where you can play and experiment.
How will we use Github?
Basically, we’ll host the source code on Github. And then use the Github Pages feature to publish the source code as a website! simple isn’t it?
Now if you’re new to Github then this article is a good starting point as covering GitHub itself is out of scope for this tutorial.
Once you’ve followed that post and have pushed your Repository to Github. Next, go to the Settings icon in the top project bar.

Scroll down until you see the Github Pages panel.
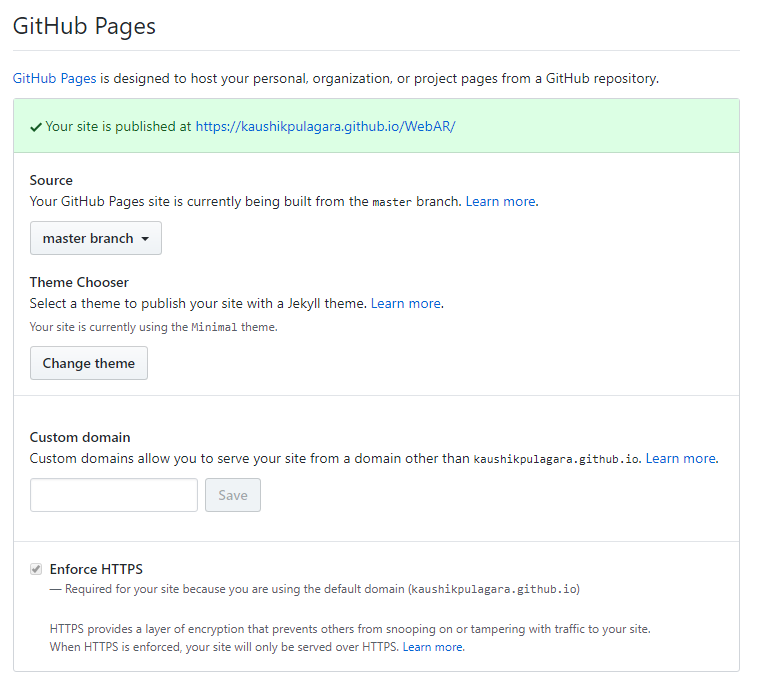
There you will see the link to your published website. You can now simply open the given link in a safari browser and experience WebAR!
You can find more info about Github pages here in case you’re having issues.
Please comment below with your thoughts or queries and I will reply as soon as possible!
[…] In part 2, we’ll look at hosting this usdz file and integration with a webpage. Click on this … […]