Day 15 : Create an AR Weather app using Unity, AR Foundation and OpenWeatherMap
This is part of a 30 day sprint where we try to publish 30 projects in 30 days, this means building full projects from scratch. Double checking the code, writing the tutorial and then posting it . If there are any typos do let us know and I hope you enjoy this tutorial and project.
Introduction
In this article, we’ll implement and build an AR Weather application using the OpenWeatherMap Weather API.
We’ll layout the weather info on an AR Panel placed in our world. The device current location will be used o fetch weather information.
Getting Started
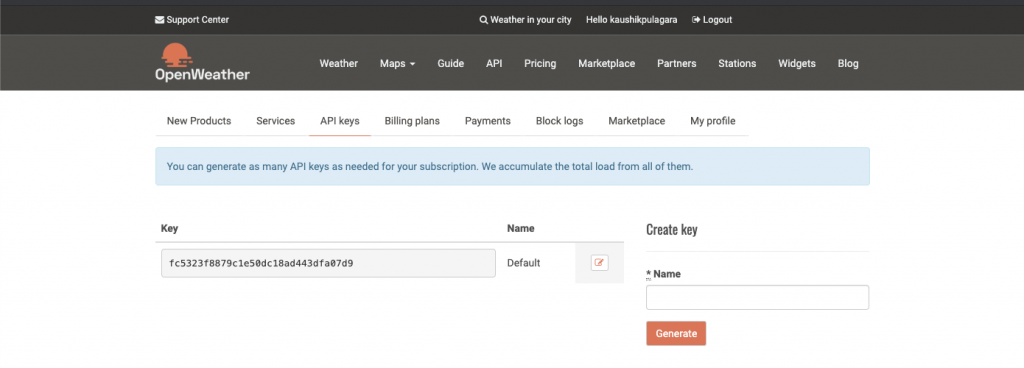
OpenWeatherMap.org is a widely used and awesome free weather API that can be used for limited requests that work perfectly for smaller applications with fewer weather updates. You will need to create an account and get the API key that is needed to authenticate each API request you make.
Go here and sign up for a new account. Under the API key page, you’ll find the key once you have verified the email address.
This weather widget will work on Android & iOS AR as well as non-ar devices but make sure to set your Canvas view accordingly.
I’m going to be using the ARFoundation template that we already setup from a previous article here.
This is what the end result will look like.

Download Source Code
Prerequisites
- Unity 2019.2.18f1
- ARFoundation setup from here.
- C# programming and understanding.
- SimpleJson from here.
- Openweathermap.org API key from here.
Implementation
OpenWeatherOrg
You can find the complete API reference here. We will be using the Current Weather API here. The API takes a latitude, longitude and the API key as parameters. Once registered, grab your api key.
This is the API –
api.openweathermap.org/data/2.5/weather?id={city id}&appid={your api key}
SimpleJson
Since the response from the API will be a JSON string, we’ll need a JSON parser to convert it into our usable data types.
SimpleJson is a third party script that offers excellent performance and readability. Once you’ve downloaded and imported it into Unity that’s all we need.
Weather Manager
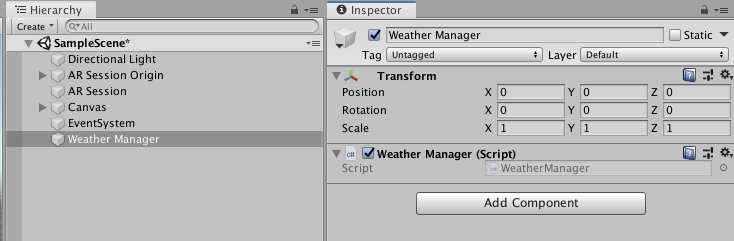
Next, let’s get to our WeatherManager script. Create an empty gameobject with the name WeatherManager and Add a WeatherManager.cs script onto it.
Here is the whole script.
using System.Collections;
using System.Collections.Generic;
using UnityEngine;
using TMPro;
using UnityEngine.Networking;
using SimpleJSON;

public class WeatherManager : MonoBehaviour
{
    public string apiKey;
    public string currentWeatherApi = "api.openweathermap.org/data/2.5/weather?";

    [Header("UI")]
    public TextMeshProUGUI statusText;
    public TextMeshProUGUI location;
    public TextMeshProUGUI mainWeather;
    public TextMeshProUGUI description;
    public TextMeshProUGUI temp;
    public TextMeshProUGUI feels_like;
    public TextMeshProUGUI temp_min;
    public TextMeshProUGUI temp_max;
    public TextMeshProUGUI pressure;
    public TextMeshProUGUI humidity;
    public TextMeshProUGUI windspeed;

    private LocationInfo lastLocation;

    void Start()
    {
        StartCoroutine(FetchLocationData());
    }

    private IEnumerator FetchLocationData()
    {
        // First, check if user has location service enabled
        if (!Input.location.isEnabledByUser)
            yield break;

        // Start service before querying location
        Input.location.Start();

        // Wait until service initializes
        int maxWait = 20;
        while (Input.location.status == LocationServiceStatus.Initializing && maxWait > 0)
        {
            yield return new WaitForSeconds(1);
            maxWait--;
        }

        // Service didn't initialize in 20 seconds
        if (maxWait < 1)
        {
            statusText.text = "Location Timed out";
            yield break;
        }

        // Connection has failed
        if (Input.location.status == LocationServiceStatus.Failed)
        {
            statusText.text = "Unable to determine device location";
            yield break;
        }
        else
        {
            lastLocation = Input.location.lastData;
            UpdateWeatherData();
        }
        Input.location.Stop();
    }

    private void UpdateWeatherData()
    {
        StartCoroutine(FetchWeatherDataFromApi(lastLocation.latitude.ToString(), lastLocation.longitude.ToString()));
    }

    private IEnumerator FetchWeatherDataFromApi(string latitude, string longitude)
    {
        string url = currentWeatherApi + "lat=" + latitude + "&lon=" + longitude + "&appid=" + apiKey + "&units=metric";
        UnityWebRequest fetchWeatherRequest = UnityWebRequest.Get(url);
        yield return fetchWeatherRequest.SendWebRequest();

        if (fetchWeatherRequest.isNetworkError || fetchWeatherRequest.isHttpError)
        {
            //Check and print error
            statusText.text = fetchWeatherRequest.error;
        }
        else
        {
            Debug.Log(fetchWeatherRequest.downloadHandler.text);
            var response = JSON.Parse(fetchWeatherRequest.downloadHandler.text);

            location.text = response["name"];

            mainWeather.text = response["weather"][0]["main"];
            description.text = response["weather"][0]["description"];

            temp.text = response["main"]["temp"] + " C";
            feels_like.text = "Feels like " + response["main"]["feels_like"] + " C";
            temp_min.text = "Min is " + response["main"]["temp_min"] + " C";
            temp_max.text = "Max is " + response["main"]["temp_max"] + " C";
            pressure.text = "Pressure is "  + response["main"]["pressure"] +  " Pa";
            humidity.text = response["main"]["humidity"] + " % Humidity";

            windspeed.text = "Windspeed is " + response["wind"]["speed"] + " Km/h";
        }
    }

}
Location
Within Unity, the Input.location gives complete cross-platform API needed for fetching the device location. Once we call location.Start() it takes a couple of seconds for the location service to start. Hence, we wait and show any errors. Once the service is up, we save the current location into the lastlocation variable.
FetchWeatherDataFromApi
Next, we pass in the latitude and longitude to this routine which uses UnityWebRequest to perform a GET call on the API which will then return the JSON response.
Finally, we parse this JSON response and display it onto our Canvas view text objects.
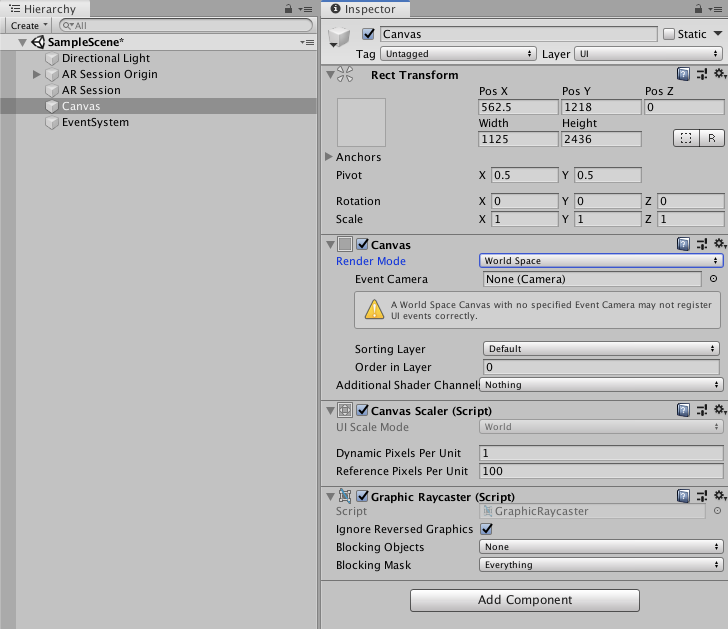
Canvas UI
This is the structure of the canvas UI. Create a new canvas and mark it as World Space with the following transform values.

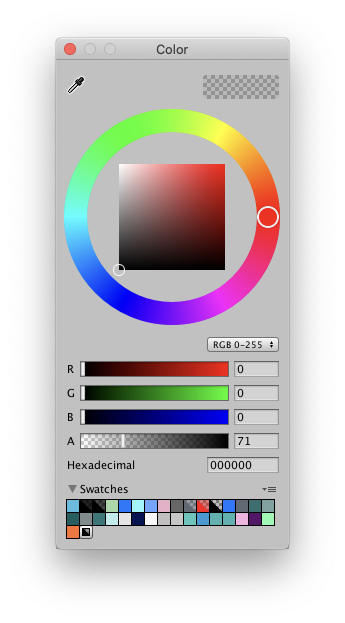
Create a new Image as it’s child and make it color black with transparency which will act as a background for the UI View.
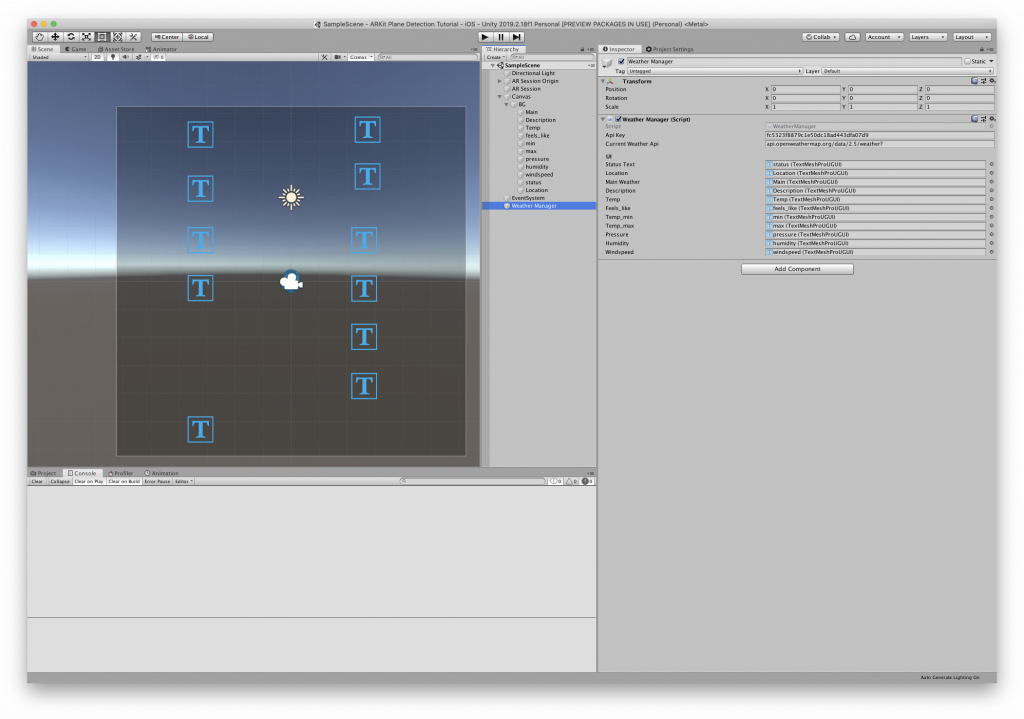
Finally, assign the proper references for the Weather Manager script.
All that is left is to build the project and deploying it onto our device.
Since I’m using iOS, I will build unity to an Xcode project and deploy it from there.
Please comment below with your thoughts and queries and I will reply as soon as possible.
Interesting read
for the info.
I was checking services around
Lackland AFB
and your article helped.
Helpful details.
–
A-Dependable Locksmith Specialist
San Antonio, TX
Phone: (210) 555-6767